
AI Friday: Building a Hosted MCP Client and Consuming a Remote MCP Server
AI-Assisted Proofreading
All articles on this site are written by me. I use AI tools solely for proofreading and editing assistance to ensure clarity and accuracy.
Hello friends! I'm back and super excited to talk about a POC I’ve been working on over the past few months which is related to MCP and AI. The Model Context Protocol has been gaining significant attention over the last few months, but its use cases seem limited since most discussions center around desktop applications (of which, probably not many new to AI have ever used like Cursor or Claude Desktop). However, there's another powerful way to use MCP servers—specifically those hosted remotely (I have an upcoming post about building a Remote MCP server using Cloudflare Workers). Let's dive into this topic by first covering how to build MCP clients, then exploring how to use an existing remote MCP server (fetch) in our Client.
For today's discussion, I'm introducing a new app I've developed over the past month. It's open source (for now) and available here: dylanyoung-dev/my-copilot: Building an app where you can do advanced Gen AI capabilities with Sitecore APIs. The app is hosted on the web (via Netlify) and accessible at My Copilot. While I'll dive deeper into this tool in future blog posts, let's focus on two key requirements: setting up an API key/token and configuring our remote MCP server. I'll guide you through a specific use case that you can follow along with, and in a future post, I'll explore the technical details of this application.
Setting up a API Token
In this application, it has the concept of bring your own integrations, by storing the tokens needed for the different parts of the application in localStorage in the browser, the app doesn’t store your data, so no need to worry about data breaches, as long as you protect your device from being used by others. You can navigate to Open AI, login and grab an API Key, to do this specifically, just follow the steps listed here: Where do I find my OpenAI API Key? | OpenAI Help Center, or if you’d like to use Anthropic, follow these steps here: How can I access the Anthropic API? | Anthropic Help Center.
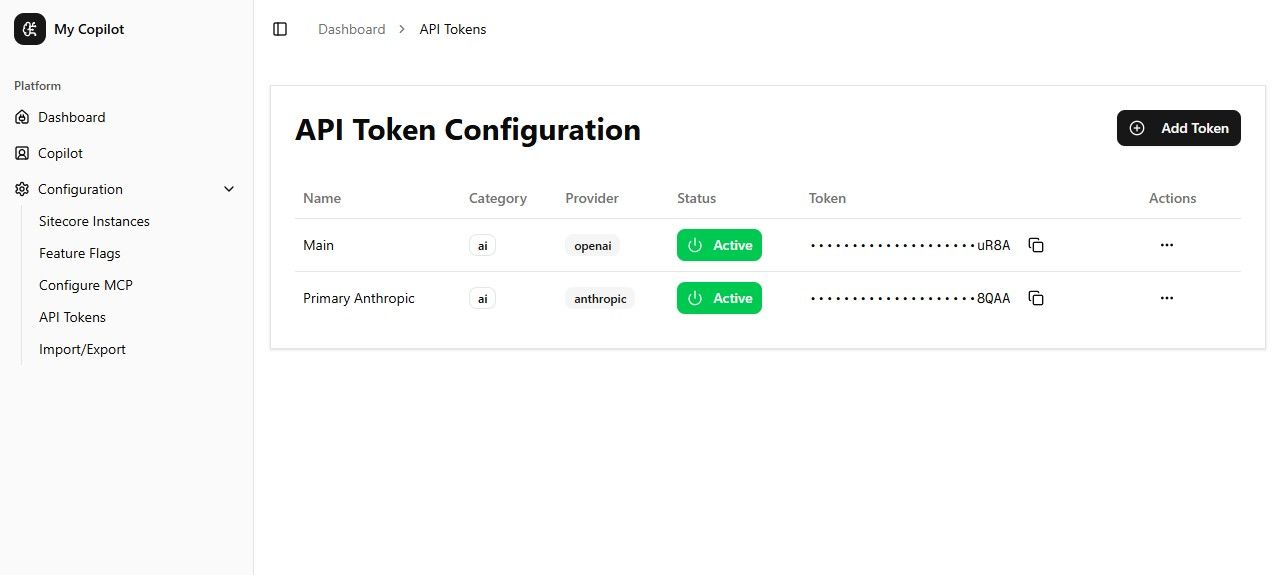
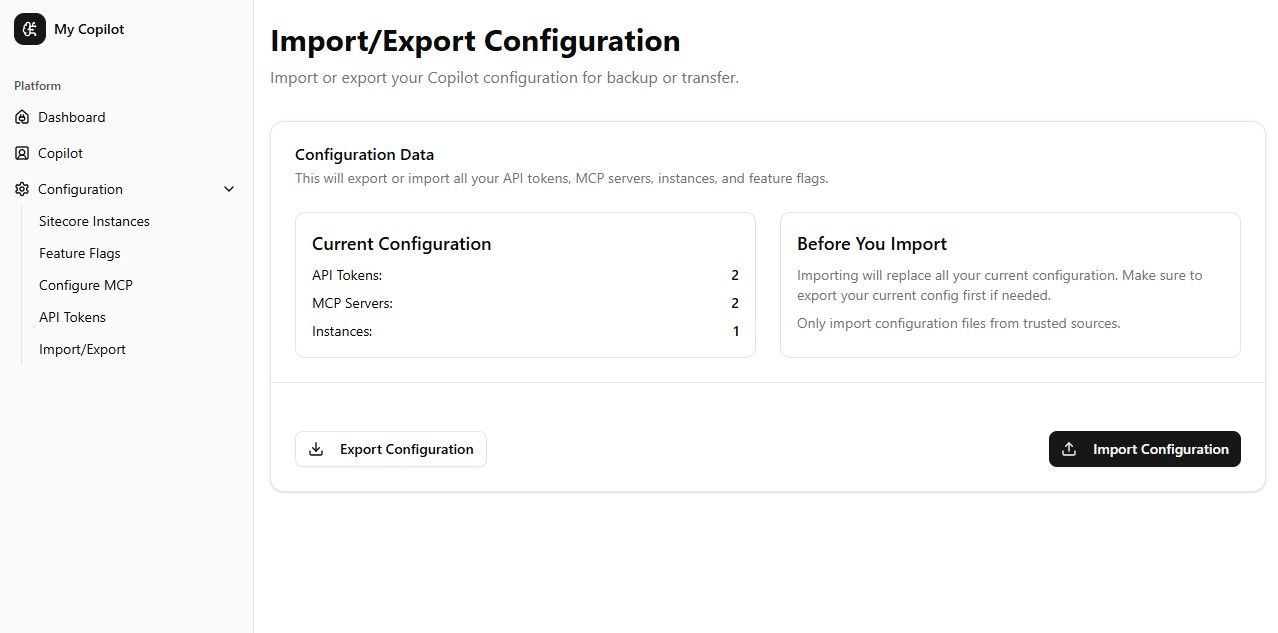
Once you have your key, find the API Tokens link on the left side of the application, or navigate directly to this page: Sitecore Copilot. Click the "Add Token" button to open a modal. In the Token Category, select AI Services and choose your provider—either openai or anthropic. Give your token a name, paste in the token you generated earlier, and you're all set. For future use, check out the Import/Export page, where you can save your configuration (API Tokens, MCP Servers, and Sitecore Instances) to a file. This backup comes in handy if your browser's local storage resets or if you switch browsers, saving you from repeating the setup process.
Setting up a Remote MCP Server
Now let's cover setting up a remote MCP server. Unlike desktop applications like Claude Desktop, GitHub Copilot, and Cursor that run MCP servers locally, our hosted application can only use remotely hosted MCP servers—similar to how you'd use an API server. These remote servers must support SSE or HTTP Streams. The MCP server we'll use today is simple, requiring no additional authentication. While my app doesn't yet support the standard OAuth flow, this feature is coming soon. Atlassian provides a good example of OAuth implementation—when you interact with their MCP remote server, it knows who you are and provides access to your specific items like tickets or projects. You can also add header information, which I'll cover in a future blog post about building our own Remote MCP server. While there aren't many remote MCP servers available currently, this approach will likely become the preferred method. After all, if you have a project with an API, creating a remote MCP server that works both locally and remotely makes perfect sense.
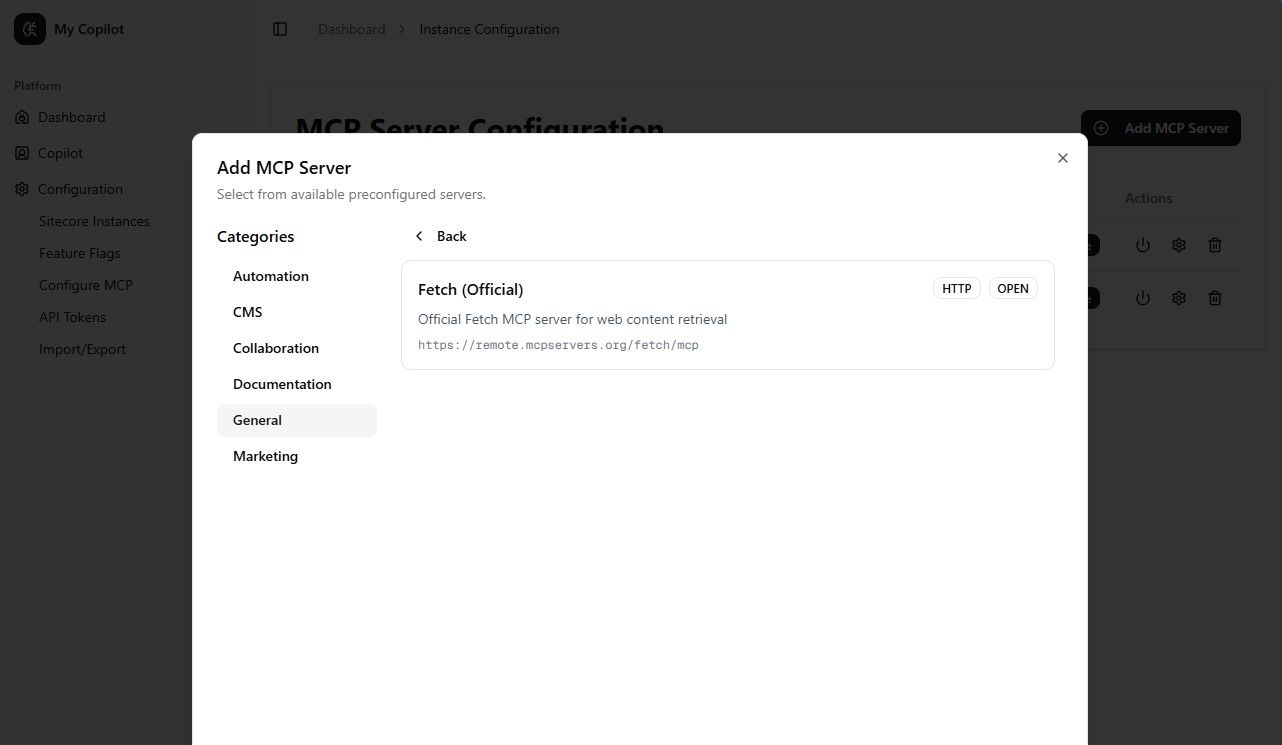
Let's walk through setting up our Fetch remote MCP server. My copilot includes a process for defining preconfigured MCP servers, offering both preconfigured and custom options. Navigate to Configure MCP and click Add MCP Server to see these options in a popup modal. We'll focus on the preconfigured option today. When you click it, you'll see several choices—though currently, Fetch is the only fully functional option. Select "fetch," and since it needs no additional configuration, it will immediately appear in your list of configured remote MCP servers. That's all you need to get started.
A Quick Demo
Now that you have your environment configured with at least one MCP Server and one API token for an LLM like Anthropic or OpenAI, navigate to the "Copilot" link in the left-hand navigation. You'll see a Chat interface that you can interact with. If you've skipped ahead to this section, you'll see a message indicating that you need to configure an API token first—this is required for the interface to work. Note that you don't need to have tools configured to use the chat interface.
On the chat page, you can select different models to use with the chat window. We currently support Anthropic and OpenAI models, but you'll only see the options for models whose API tokens you've configured.
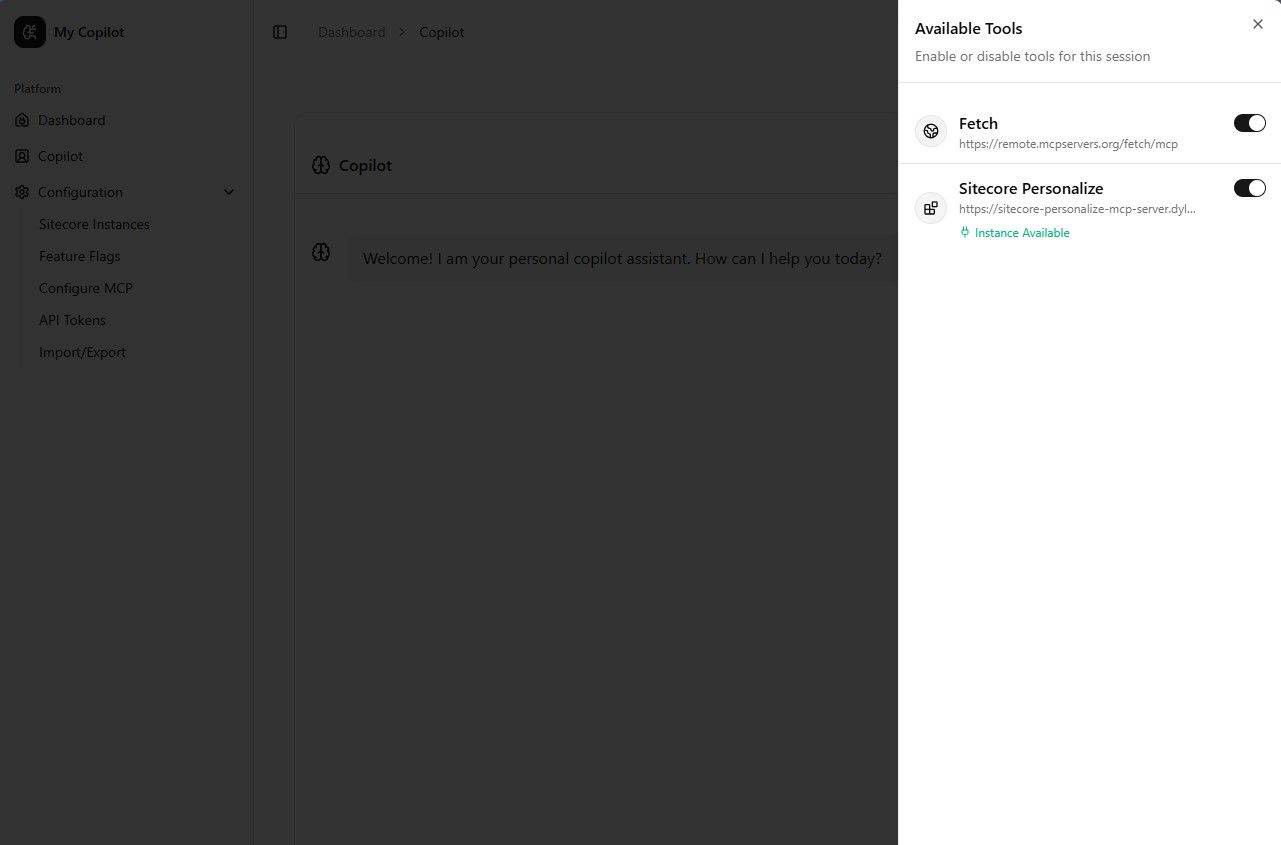
In the bottom left of the chat window, you'll find a gear icon. Clicking it reveals your list of configured MCP servers. While you can have hundreds of MCP servers configured, it's best to toggle off the ones you don't need for your current chat session. A smaller list of active tools helps the chat interface select the appropriate tool and respects the limits on tools per chat request. For our current use case, we'll simply ensure the Fetch option is enabled.
Now that we're ready to test the application, let's start by asking the chat interface about available tools.
When I asked "What tools are available to me?" I received this response:
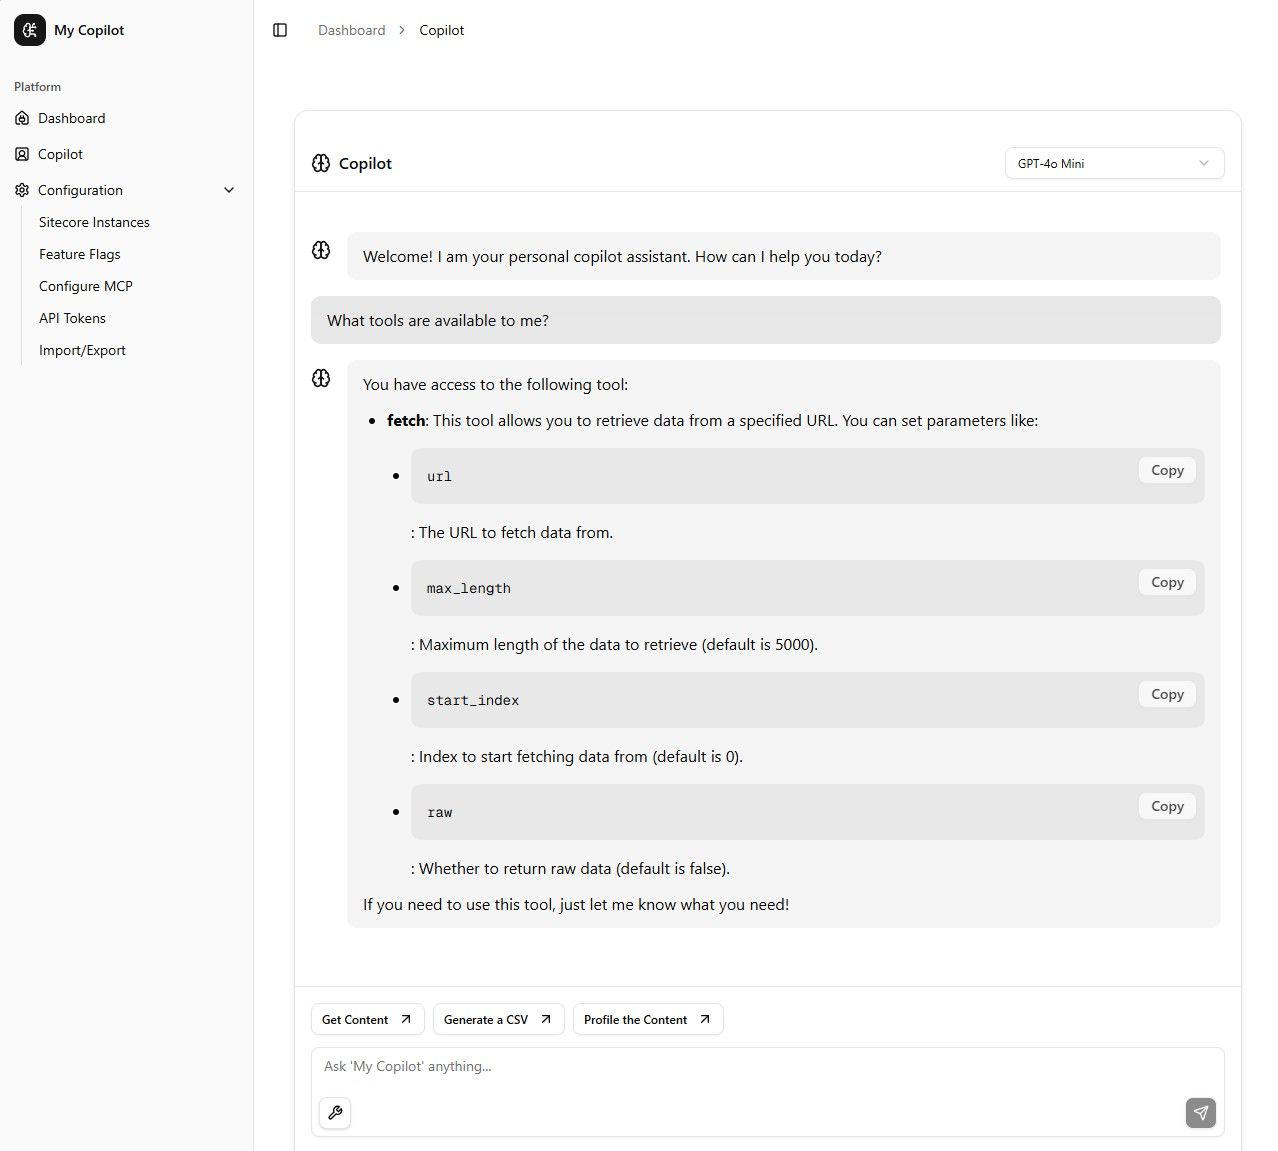
From here, it's straightforward to use the tool. Simply provide a URL and ask it to explain the page contents. For example, I used this prompt: Can you fetch: https://www.sanity.io/ and can you summarize the contents of this page? The tool responded with a concise summary of the page. Note that some URLs weren't accessible, likely due to Cloudflare's request blocking.
You now have access to this powerful tool, and there are many exciting features in development—including a dedicated remote MCP server for Sitecore Personalize, which you can glimpse in some screenshots. Stay tuned for a blog post about that in the coming weeks. If you'd like to suggest new features or report issues, please visit the Github page and submit an "issue" or "feature" request.